Notebook Lesson 8
- Yonseo Rigging Notes
Project files:
project/YON_lesson8.lxo
project/YON_lesson8final.lxo
Modifiers
Modifiers can be a little tricky at first but we become familiar with them as we use them. To understand how we use modifiers in our rig lets look at how these objects talk to eachother.In previous lessons we covered:
1) Now let's jump in...
In this example I've created 3 objects, a circle locator, a locator, and a skeleton bone.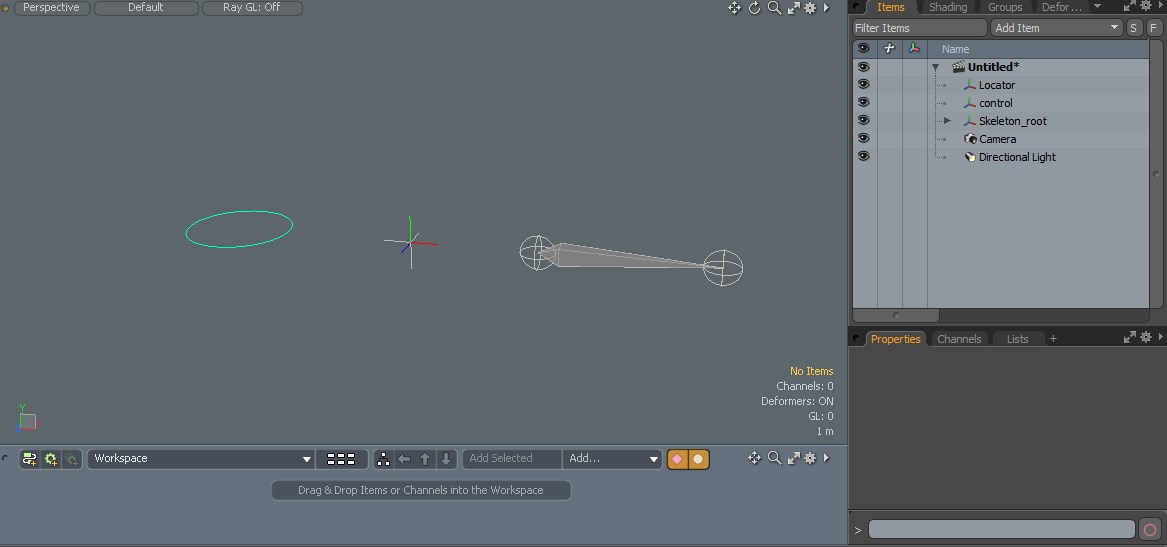
If we compare this to a car,
Where are the Modifiers?
Naming conventions for these
I prefer to use the naming convention 'loc' for locators that have a default appearance, 'effector' for locators that have a modifier, and 'control' for locators that are used as controls. You can use any naming convention to make it easier to organize your hierachy.2) Lets begin...
In my scene I have created 2 locators. A control and an effector. The control will have a circle shape. The effector will keep default.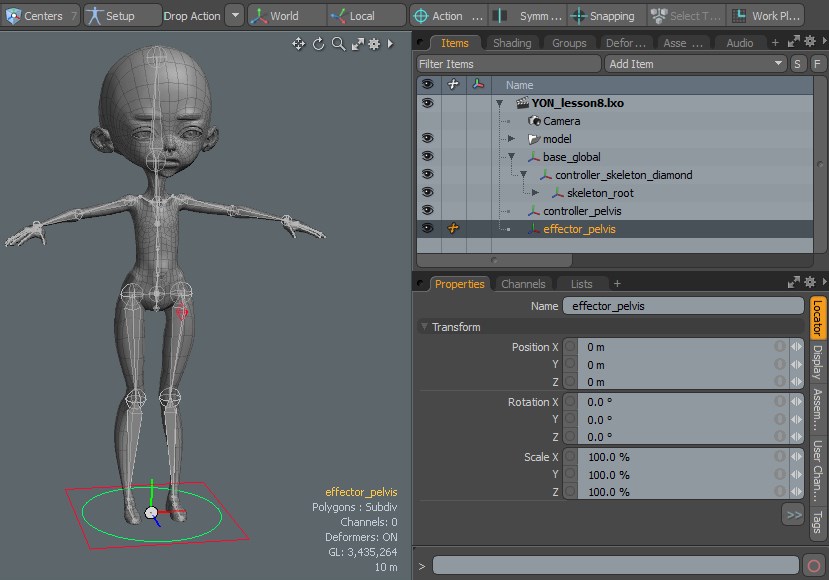
To get this setup properly I need a locator where my 'skeleton_root' is at. I start with a [drop action: match] and drop my locator over 'skeleton_root'.
I will do the same with my controller named 'controller_pelvis' only this time im using a [drop action: match position].
 Now we can apply modifiers!
Now we can apply modifiers!3) Aplying Modifiers
.jpg) [Enter Setup]
[Enter Setup]
4) Test the effector
[Exit Setup] Select the locator named 'effector_pelvis', NOT the control. Then move or rotate to test. If move and rotate work then modifiers have been applied successfully.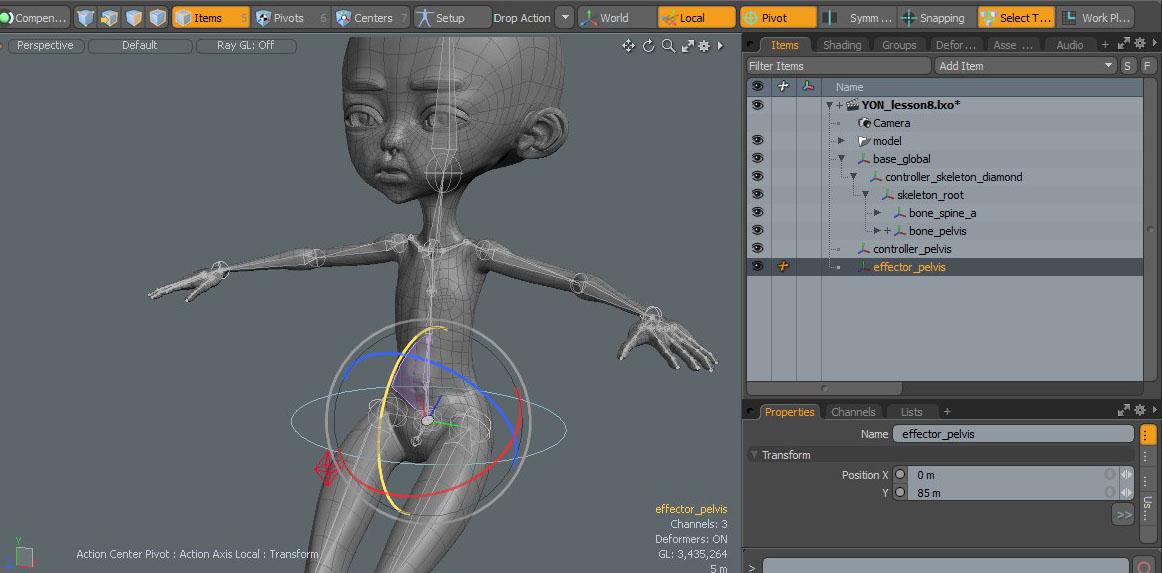
5) Parenting the Control
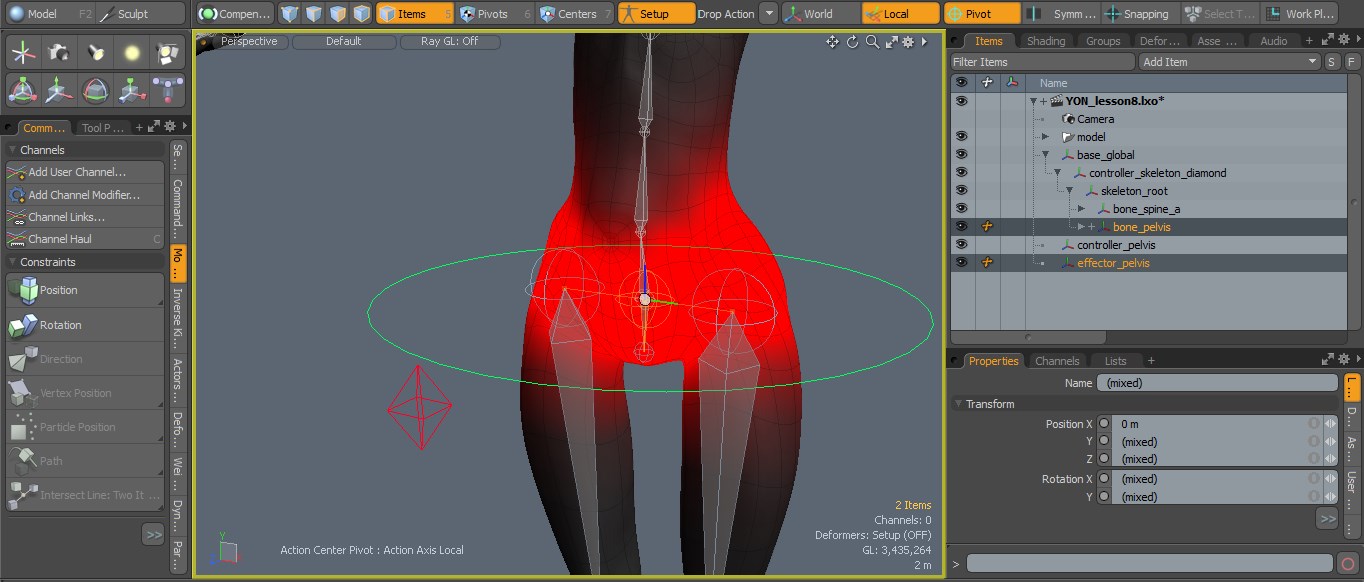
Before we parent we must enter [Setup]. Parent by first selecting 'effector_pelvis' and lastly ctrl+selecting 'controller_pelvis'. Then press 'P' on the keyborard.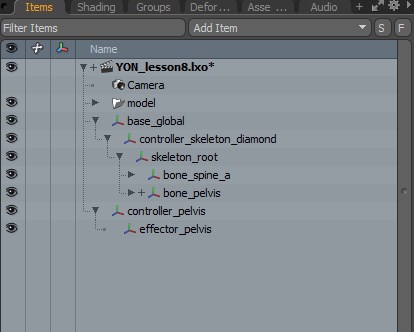 You will see a '+' symbol next to 'bone_pelvis'. You can click on it and see the modifiers we just applied.
6) Test the Control
Exit [Setup] and test rotation and movement of 'controller_pelvis'.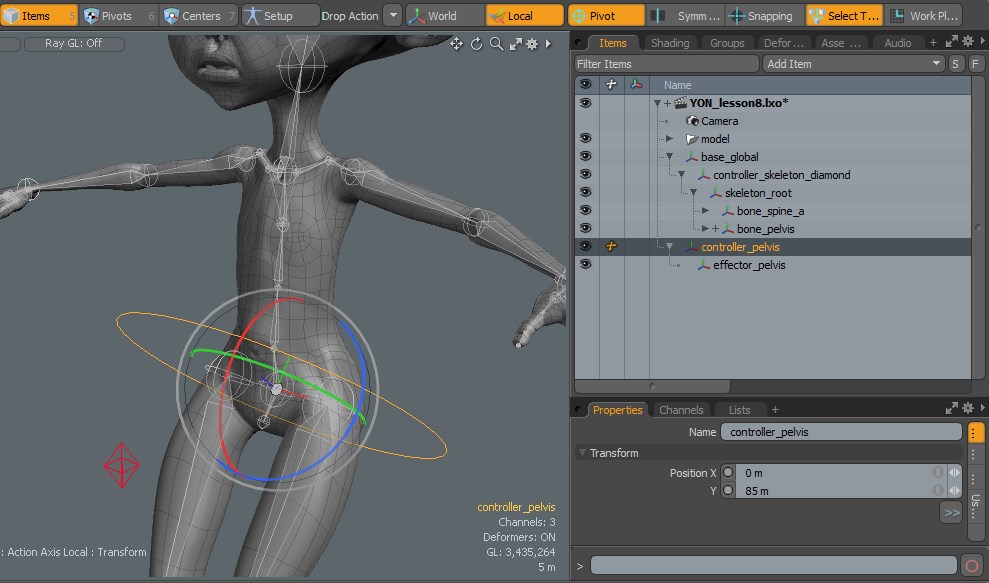 Repeat these steps to create the other controls for the spine and apply modifiers. There are 4 circle controls in total starting at the pelvis joint
(the one we just made) and ending at the chest joint.
Repeat these steps to create the other controls for the spine and apply modifiers. There are 4 circle controls in total starting at the pelvis joint
(the one we just made) and ending at the chest joint.
7) The final Scene
 To finish this lesson add the newly created 'controller_pelvis' to the group Controls under the groups tab.
Add the 'effector_pelvis' to the 'hidden' group under the groups tab. Rememeber to add any new bone, item, locator, controller to
a group to keep things organized.
To finish this lesson add the newly created 'controller_pelvis' to the group Controls under the groups tab.
Add the 'effector_pelvis' to the 'hidden' group under the groups tab. Rememeber to add any new bone, item, locator, controller to
a group to keep things organized.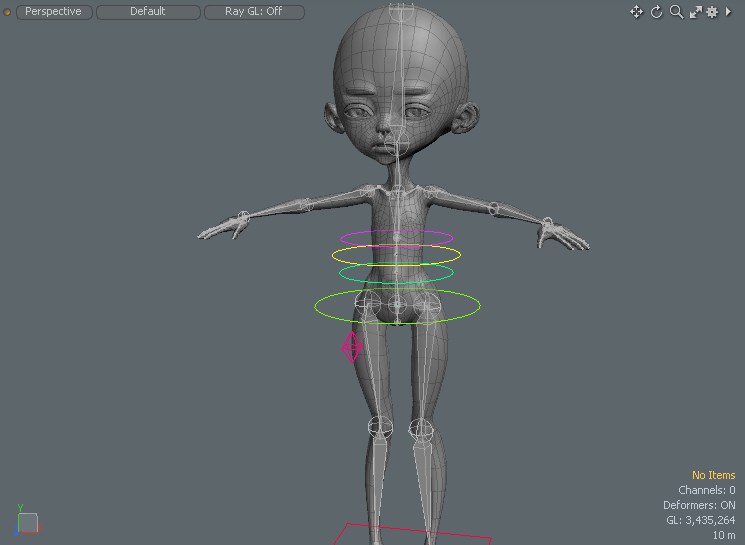 The final scene with all spine controls is named 'YON_lesson8final.lxo'
In the next lesson we will look at working with keyframes in animation.